

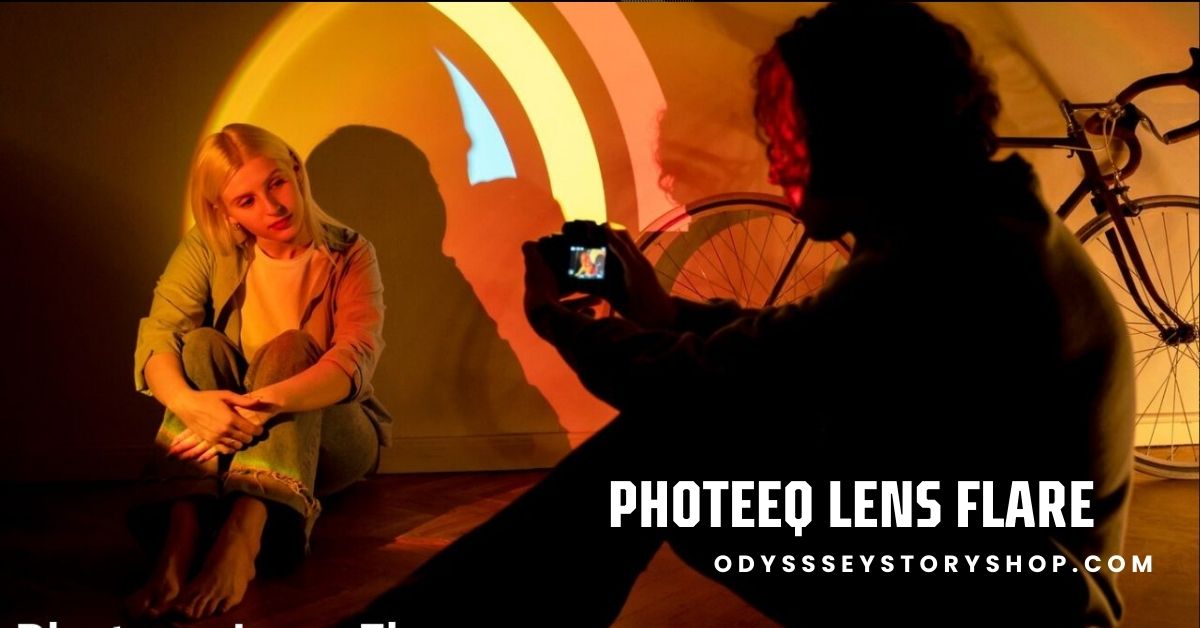
Photography has evolved tremendously, both in terms of the tools available and the techniques employed. One such technique, which adds a cinematic or artistic flair to an image, is the use of lens flare. For photographers, capturing the natural light dynamics can be challenging, but thanks to modern technology, these effects can now be simulated with ease using plugins. One of the most impressive tools for this is the Photeeq Lens Flare. In this article, we’ll delve into what Photeeq Lens Flare is, its applications, and how it can elevate your photography and photo editing experience.
- What is Photeeq Lens Flare?
- Understanding the Basics of Lens Flare
- Why Choose Photeeq Lens Flare?
- How to Use Photeeq Lens Flare
- When to Use Photeeq Lens Flare
- Photeeq Lens Flare in Different Photography Genres
- FAQs About Photeeq Lens Flare
- Is Photeeq Lens Flare available for all photo editing software?
- Can I use Photeeq Lens Flare on mobile photos?
- Can I use multiple lens flare effects on a single image?
- Does Photeeq Lens Flare slow down my computer?
- Can Photeeq Lens Flare be used on video editing?
- Conclusion
What is Photeeq Lens Flare?
Photeeq Lens Flare is a specialized feature found within the Photeeq plugin, a tool commonly used in photo editing software. This effect is designed to simulate or enhance the natural lens flare effect, which occurs when bright light sources, like the sun or artificial lighting, hit the camera lens at a certain angle. In traditional photography, lens flare is often an accidental result of light scattering. However, with Photeeq Lens Flare, photographers and editors can use this effect intentionally to add depth, realism, and style to their images.
Understanding the Basics of Lens Flare
Before diving deeper into Photeeq Lens Flare, it is important to understand what lens flare is and how it works. Lens flare happens when light, especially from a bright light source, enters the lens and bounces around inside, creating an unwanted distortion. However, this “imperfection” can sometimes enhance a photograph, making it feel more dynamic and natural. There are two main types of lens flare:
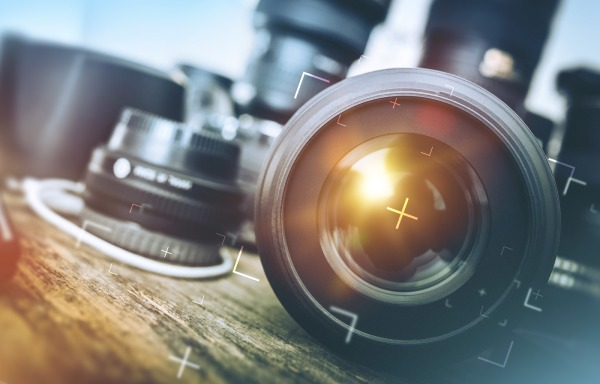
- Ghosting: When bright light sources cause an additional, often circular, reflection within the lens.
- Streaking: When the light source creates streaks or rays that extend across the image.
Photeeq Lens Flare allows users to control these effects in a way that enhances the image, making them a desirable creative tool rather than an accidental nuisance.
Why Choose Photeeq Lens Flare?
Photeeq Lens Flare stands out because it not only simulates natural lens flare but also provides editors with full control over how the effect appears in their images. Here’s why you should consider using Photeeq Lens Flare:
- Customizability: Photeeq Lens Flare is highly customizable. You can adjust the intensity, direction, color, and size of the lens flare effect to suit your vision.
- Natural Look: The tool is designed to mimic the real-world dynamics of light reflection and scattering, ensuring that the lens flare looks as authentic as possible.
- Versatility: Whether you’re working on a portrait, landscape, or architectural photo, Photeeq Lens Flare can be adapted to fit any style of photography, adding a layer of atmosphere and drama.
- Easy to Use: Unlike complex manual techniques, using Photeeq Lens Flare is simple and intuitive, making it ideal for both beginners and seasoned photographers.
Also Read: Pet5ardas com: The Complete Guide for Pet Enthusiasts
How to Use Photeeq Lens Flare
While the plugin is easy to use, it helps to understand the right settings to achieve different effects. Here’s a step-by-step guide to using Photeeq Lens Flare effectively:
- Installation: First, ensure that you have the Photeeq plugin installed within your preferred photo editing software (e.g., Photoshop).
- Select Your Image: Open the image you want to edit and choose where you want the lens flare effect to be applied. Commonly, the effect is applied around light sources like the sun, street lamps, or other bright points in the image.
- Activate Photeeq Lens Flare: Once the image is ready, activate the Photeeq Lens Flare feature. A new panel will appear with different controls.
- Adjust Flare Settings:
- Position: Drag the flare’s position to the area where the light source is in your image.
- Intensity: Increase or decrease the strength of the flare.
- Color: Some scenes may look more natural with a warm flare (yellow, orange), while others might benefit from a cool tone (blue or purple).
- Size: Adjust the size of the flare for a subtle or more dramatic effect.
- Position: Drag the flare’s position to the area where the light source is in your image.
- Fine-tune Effects: You can also adjust secondary effects like ghosting and streaking to give the flare a more complex and dynamic look.
- Apply and Save: Once satisfied with the result, click “apply” to set the effect and save the image.
When to Use Photeeq Lens Flare
Photeeq Lens Flare is not just a tool to add flare whenever you feel like it. It is best used strategically to enhance your image, giving it a certain mood or tone. Here are some scenarios where Photeeq Lens Flare can be used effectively:
Also Read: Pet5ardas com: The Complete Guide for Pet Enthusiasts
- Golden Hour Shots: When photographing during the golden hour, using Photeeq Lens Flare can enhance the warm, magical lighting, adding realism and atmosphere to your shot.
- Cinematic Effects: Filmmakers and photographers often use lens flare to create a cinematic, dramatic feel. Photeeq Lens Flare can replicate this effect easily, adding a touch of Hollywood to your still images.
- Abstract Art: In abstract or experimental photography, lens flare can become a key part of the composition, adding texture and complexity to the image.
- Nighttime Photography: Streetlights and neon signs can create beautiful flare effects. Photeeq Lens Flare can help simulate these effects without the need for physical light sources.
Photeeq Lens Flare in Different Photography Genres
Photeeq Lens Flare isn’t just for landscapes; it can be applied to a wide range of photography styles. Here’s how it can be used across different genres:
- Portraits: Adding a lens flare can create a dreamy, romantic vibe in portrait photography. A soft, warm flare in the background can bring out the subject’s features, making the photo feel more intimate.
- Architectural Photography: Adding lens flare to architectural photos can highlight specific parts of the building and enhance the overall mood of the image, especially during sunrise or sunset.
- Fashion Photography: Fashion photographers often use lens flare to create a sense of drama, adding visual interest and emphasis to the clothing or the model’s pose.
- Also Read: Ohol Radio One Tech: The Future of Radio and Digital Connectivity
FAQs About Photeeq Lens Flare
Is Photeeq Lens Flare available for all photo editing software?
Photeeq Lens Flare is primarily designed for use with Photoshop. Ensure you have the right version of the software before installing the plugin.
Can I use Photeeq Lens Flare on mobile photos?
Currently, Photeeq Lens Flare is mainly available as a plugin for desktop photo editing software. There are alternatives for mobile apps, but they may not provide the same level of control and customization.
Can I use multiple lens flare effects on a single image?
Yes, you can layer multiple lens flares to create a more complex effect. This is particularly useful in high-contrast scenes or in creative compositions.
Does Photeeq Lens Flare slow down my computer?
As with any plugin, heavy use of Photeeq Lens Flare may require more processing power. Ensure your system meets the recommended specifications for smooth performance.
Can Photeeq Lens Flare be used on video editing?
While Photeeq Lens Flare is designed for still images, some users adapt the plugin for video editing in compatible software, although the functionality may differ.
Conclusion
Photeeq Lens Flare is a powerful and creative tool for photographers and editors looking to add natural, realistic, or cinematic lens flare effects to their images. With its wide range of customizability, it allows users to manipulate light dynamics in ways that were once only achievable with physical equipment and skill. Whether you’re a beginner or a seasoned professional, this plugin is an easy yet effective way to enhance your photography, adding both depth and atmosphere to your shots.